Pin Reaper: Bree
Original Inspiration: http://www.pinterest.com/pin/59813501272095574/, via http://swelldesigner.blogspot.com/2012/08/crayon-drip-art-pumpkin-tutorial.html
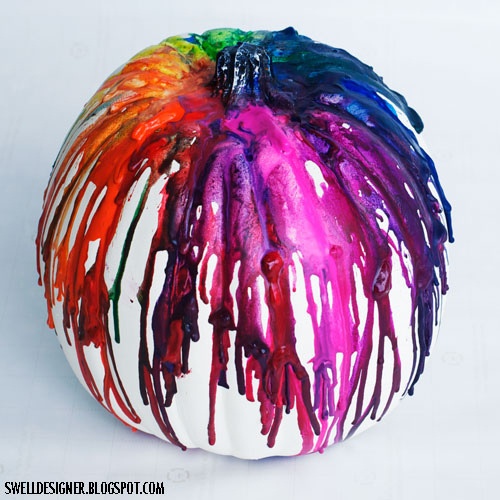
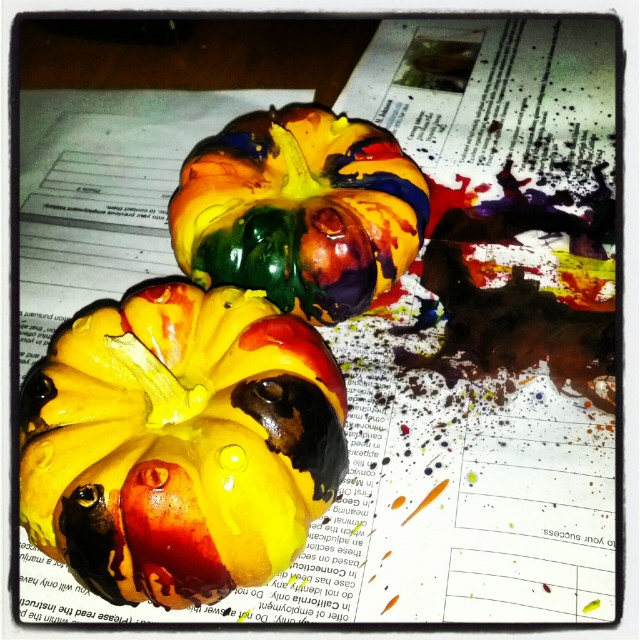
What I Did: My housemate and I were in the mood to decorate pumpkins, and these little guys were too small to carve. We wanted to take our decorating skills to the next level by trying the melt crayons technique. The picture made it look so cool…but ours just turned into uncontrollable meltage.
We hot glued crayon bits to the pumpkin and began blow-drying the bits….as soon as the melting began it started splattering, and just became hard to move in the right direction.
The end result was not tooo desirable.
My Result:
Next Time I Will: Bigger pumpkins!
Actually, I like yours better. DIY isn’t an exact science.
Maybe stick the crayons on and put into Microwave for a few seconds?
Your pumpkins aren’t white as shown on the pin, either.
Try a heat gun, not a hair dryer. It’s more concentrated heat and less air movement. It lets the crayons melt without splattering.
Hair dryer is not the way to go with crayon melting, and the pins that say they used hair dryers are LYING.
The last time we did this, we used a candy blowtorch. Worked perfectly.
Use an old iron next time. That’s the best way to melt wax. let the tip of the iron drip the wax onto whatever you want to melt crayons onto. it’s a hell of a lot easier than the hair dryer is.
I did a melted crayon project using a small candle to softly melt the wax (i made a “painting”. if you hold a small flame under the crayon, it will melt slowly and give you the dripping desired effect.
Why would someone want to do this?